

cPanel is a popular, feature rich and reliable web hosting platform that’s in use worldwide by thousands of web-hosting companies and individuals. With an intuitive and powerful graphical user interface, users can manage databases and website files, set up ftp and email accounts and control every aspect of their website.
cPanel comes alongside Web Host Manager (WHM) which facilitates and makes web hosting easy for website administrators. Before we proceed to install cPanel and WHM, there are a few important things worth noting:
- cPanel and WHM should ONLY be installed on a freshly installed Operating system.
- Once installed, you cannot remove the software. If you wish to remove, you must reinstall the Operating system.
- To install cPanel and WHM, you must be logged in as root or as a user with root privileges configured.
- For commercial hosting, licensing is required for cPanel and WHM. For you to obtain this license you must have a public IP address which is static, not a dynamic or internal IP address.
Minimum requirements
For seamless and easy installation ensure your Centos 7 meets the following minimum requirements:
- As mentioned before, a clean and fresh installation of Centos 7
- 1 GB RAM
- Recommended 25 GB hard disk space
- Server must have a Fully Qualified Domain Name (FQDN)
- cPanel license which is valid. However, there exists a trial version of 15 days which is automatically activated once you install cPanel. Thereafter, you’ll be required to purchase the license.
Installation of cPanel on Centos 7
-
Since it was written in Perl, you should ensure Perl is installed in your system.
Run the command below command
yum install perl -
Set up a FQDN on your server If it doesn’t exit
hostnamectl set-hostname host.cloudtechtiq.comin the above example, host is the hostname of the server and cloudtechtiq.com the domain name.
-
Install screen utility. The installation process can be quite lengthy especially if you are having an intermittent internet connectivity. Screen enables to you pause the lengthy process and resume the installation should your connection become weak.
yum -y screenThe -y flag ensures that we do not get prompted by the command line for installation of packages.
Thereafter, you can proceed to start a session with the command
screen -
To finally install cPanel and WHM, run the command below to download the script needed for installation.
wget -N http://httpupdate.cpanel.net/latest -
Run the script
sh latestNOTE:
When running the script on Centos Minimal install, you may get an error, ‘cPanel does not support NetworkManager installed.’
To go around this issue, you need to deactivate your network manager in these simple steps:
systemctl stop NetworkManager.service
systemctl disable NetworkManager.service
systemctl enable network.service
systemctl start network.service
The cPanel installer will run and finally you’ll proceed to access it using http://cpanel.cloudtechtiq.com:2087
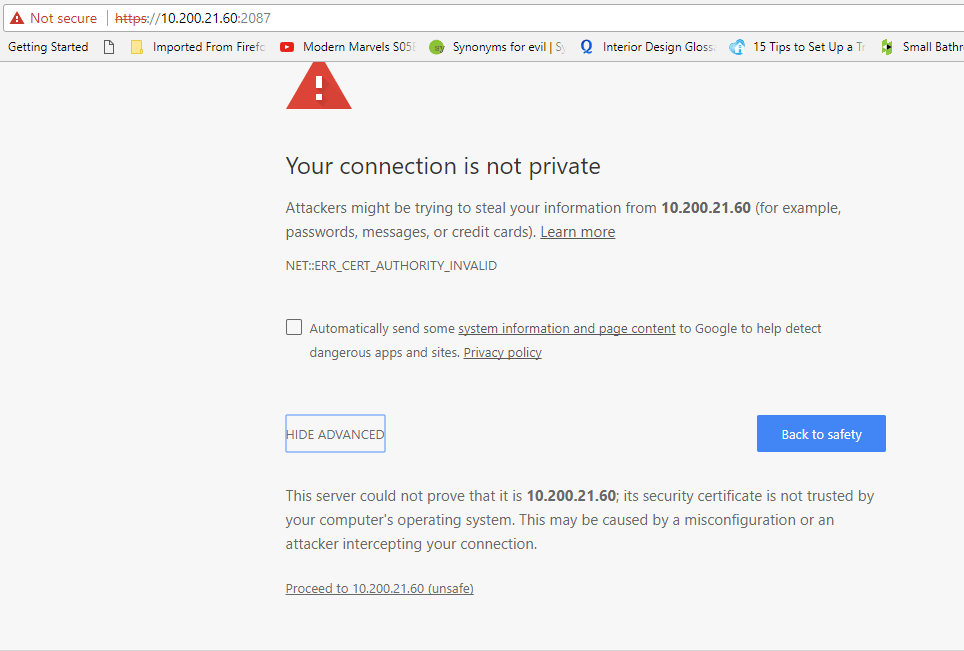
Scroll at the bottom and select ‘Proceed to your-ip-address (unsafe)’
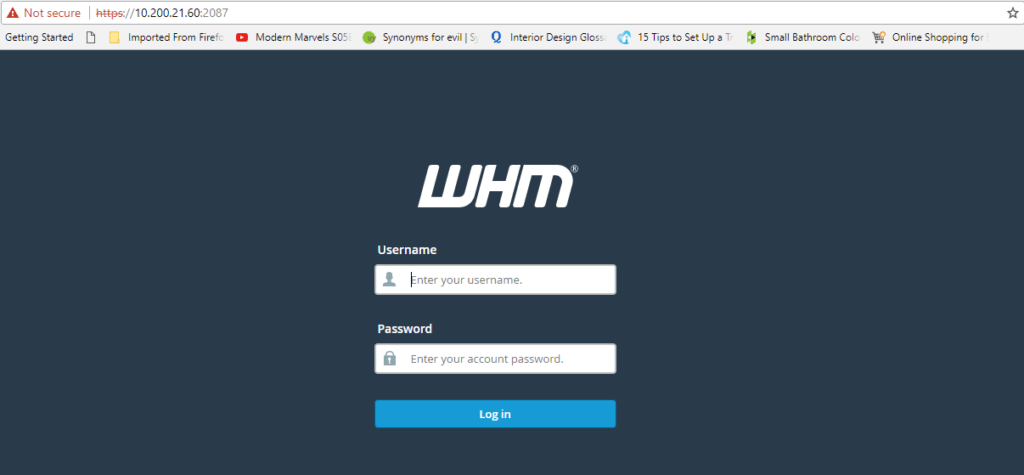
You’ll be presented with this login screen. You’ll be required to login with your root username and password.
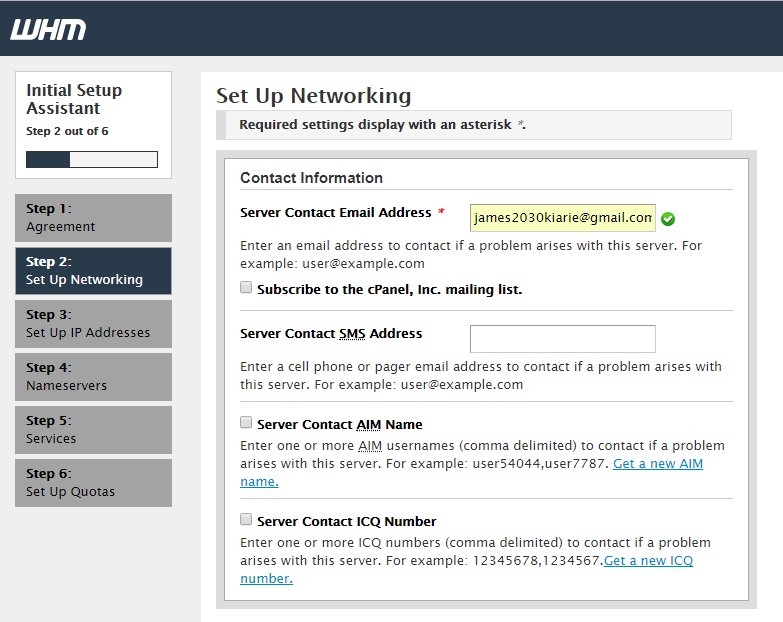
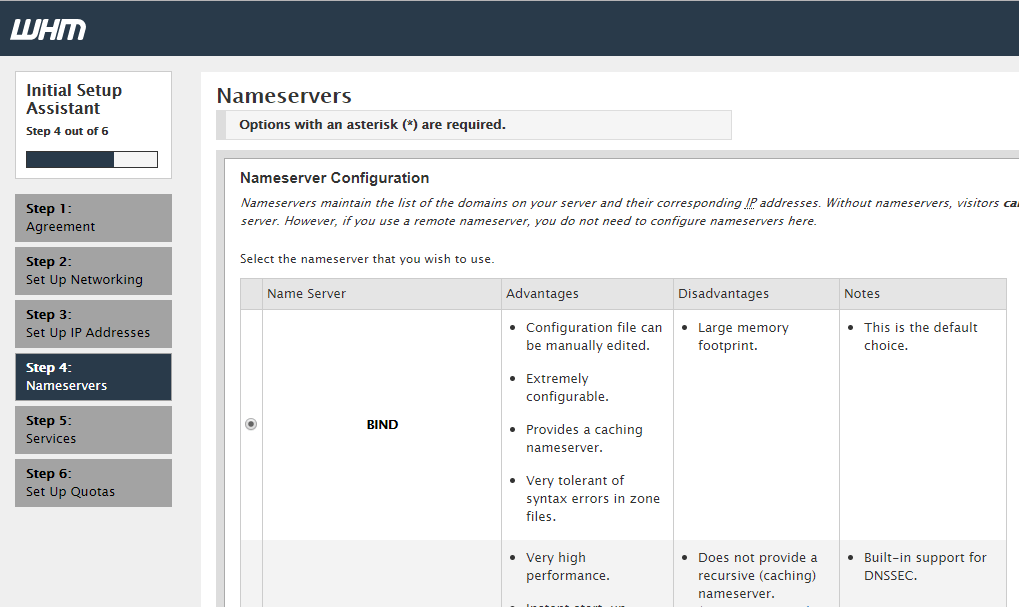
On the next screen you’ll be presented with the User’s agreement page after which you’ll follow the remaining 6 steps and input your server’s details where appropriate. Next, you’ll configure the name servers and DNS settings
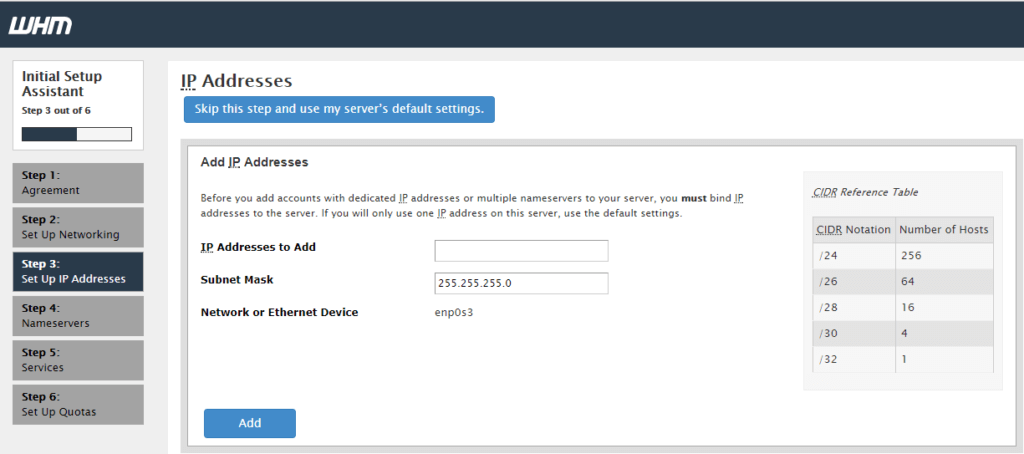
Set up the public IP address of the server
Set up the name servers
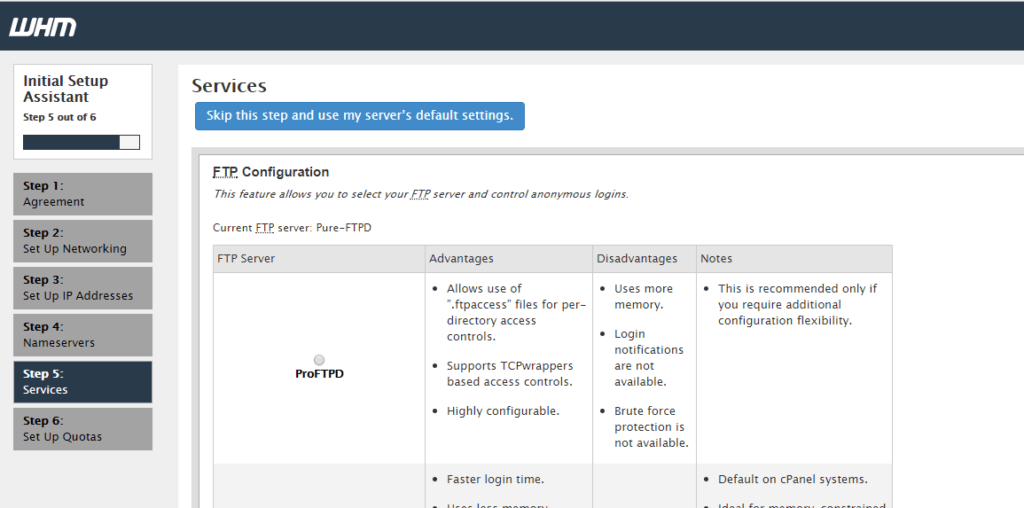
Define the services that you’ll need e.g. FTP
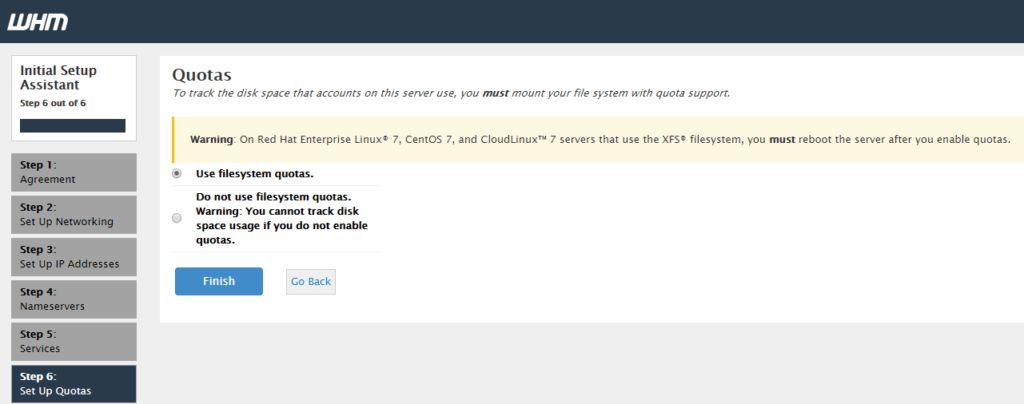
Finally set up quotas, and accept the changes
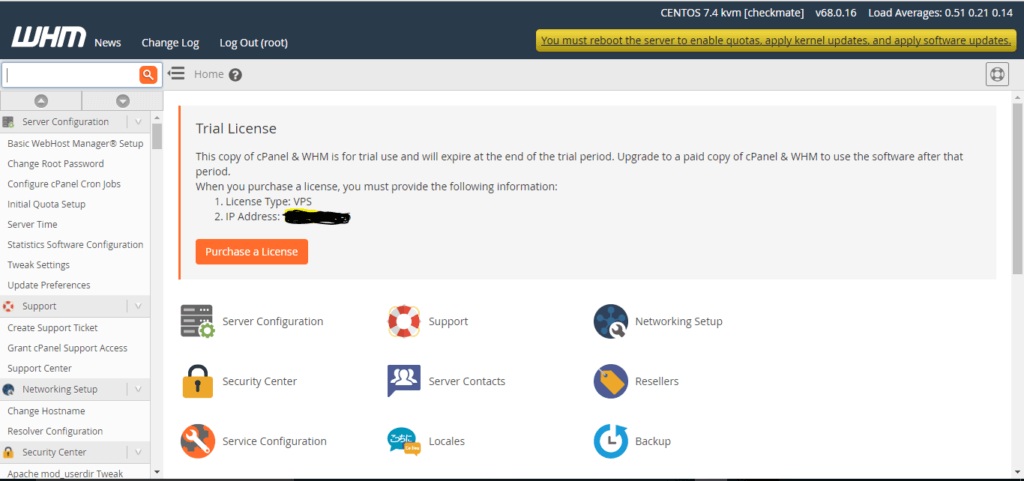
Finally, you’ll be presented with the components’ dashboard which you can use to tweak various settings to suit your needs.
Thanks!